This process is possible to achieve by yourself, just take your time. Otherwise we do recommend getting a friend to help you. In this instance, one holding the vinyl taught with both hands, the other using the squeegee to apply to the windscreen. Patience is key for best results.
Step 5: Repeat the other side
Now repeat the previous step for the other side. You’ll need to move the taped hinge point, remove the final half of backing paper and apply working centre outwards.
Step 6: Trim, safety first
Before proceeding with this step, ensure you’ve squeegee’d the vinyl as much as possible up to the edge of the glass. Use a sharp craft knife to trim the excess vinyl at the edge, being careful not to cut yourself, or any rubber seals on the edge of your windscreen.
Additional Info:
Once you’ve installed your sunstrip, we advise against washing the car/exposure to moisture for 48 hours (longer times may be required in lower temperature seasons/countries), it’s best to allow maximum time for the material to adhere to the surface properly to ensure the longevity of the sunstrip.
We also advise against using your wiper blades until the sunstrip has had time to fully adhere to the surface (unless you absolutely have to – safety first, of course). Once the sunstrip has fully cured to the surface, it’s very unlikely that your wiper blade will remove it, assuming it was properly installed following our steps above.
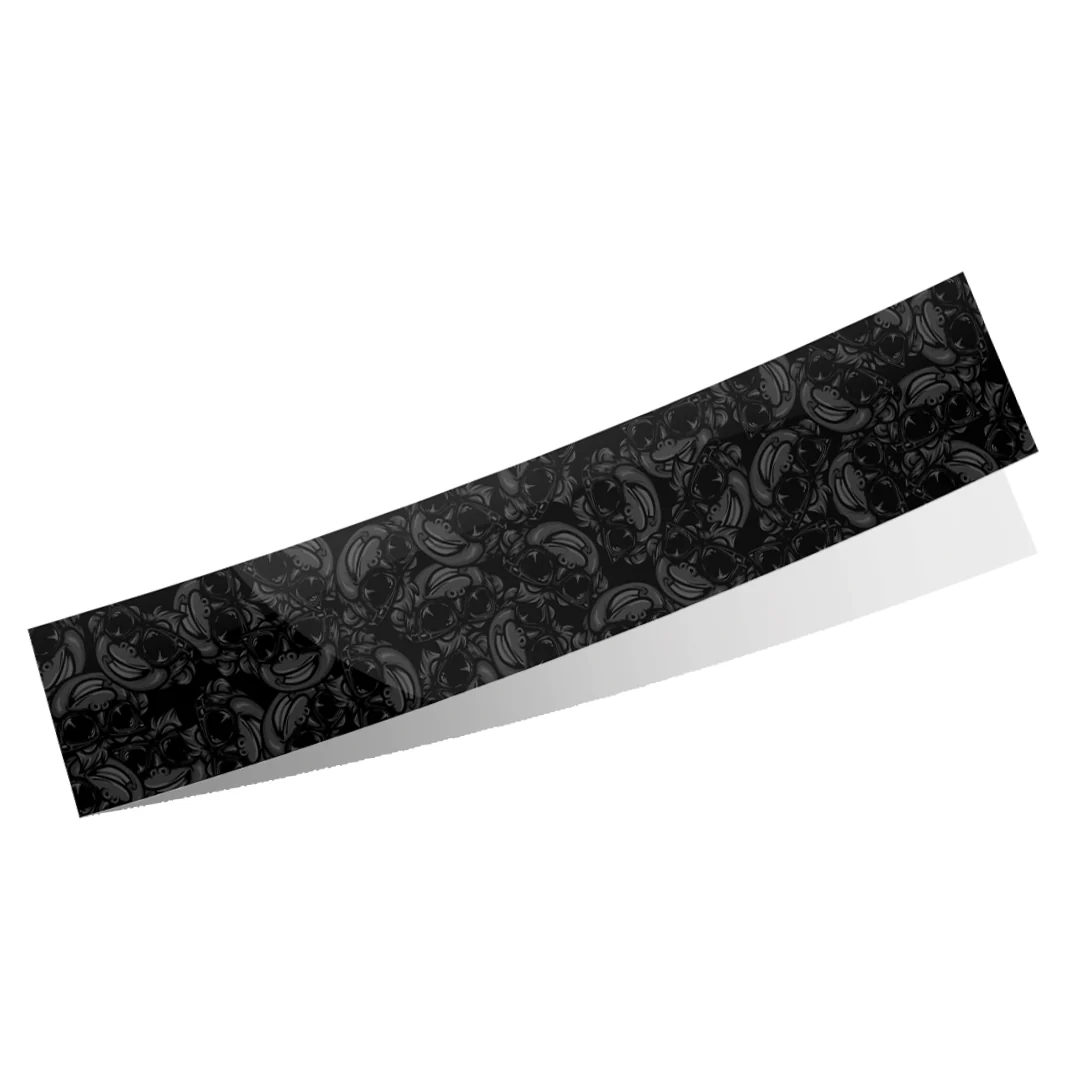
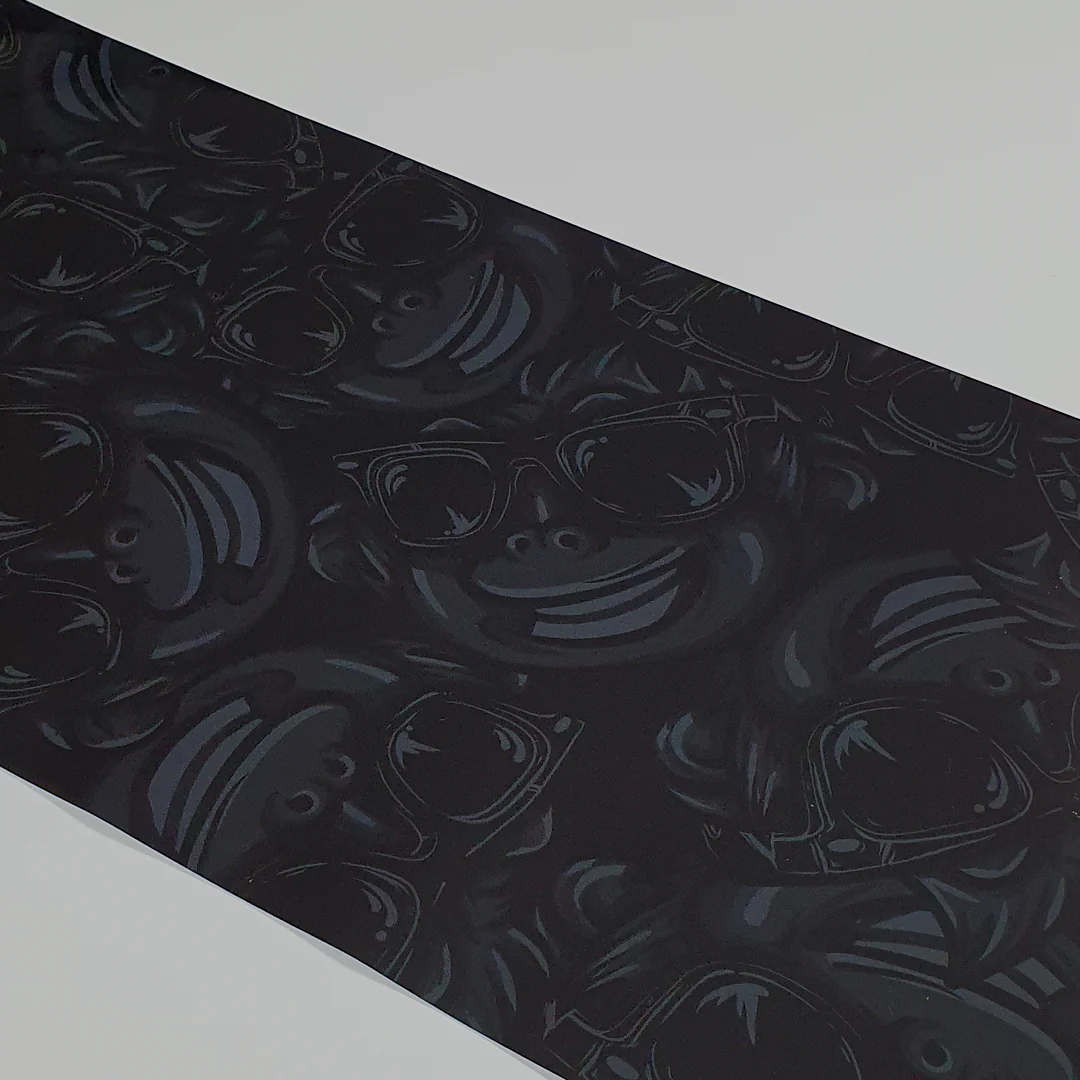
Monky Madness (No Text) Stealth Black Sunstrip
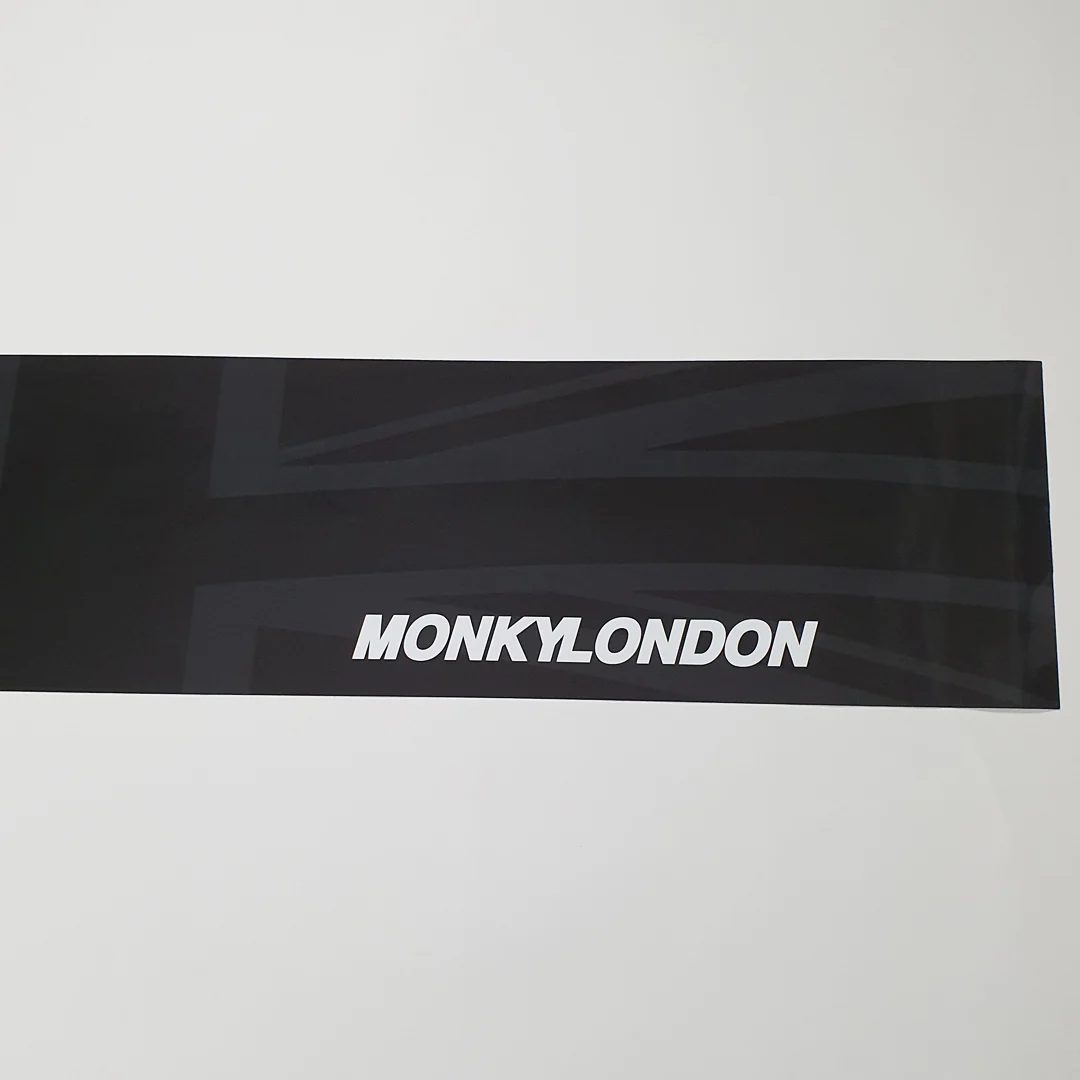
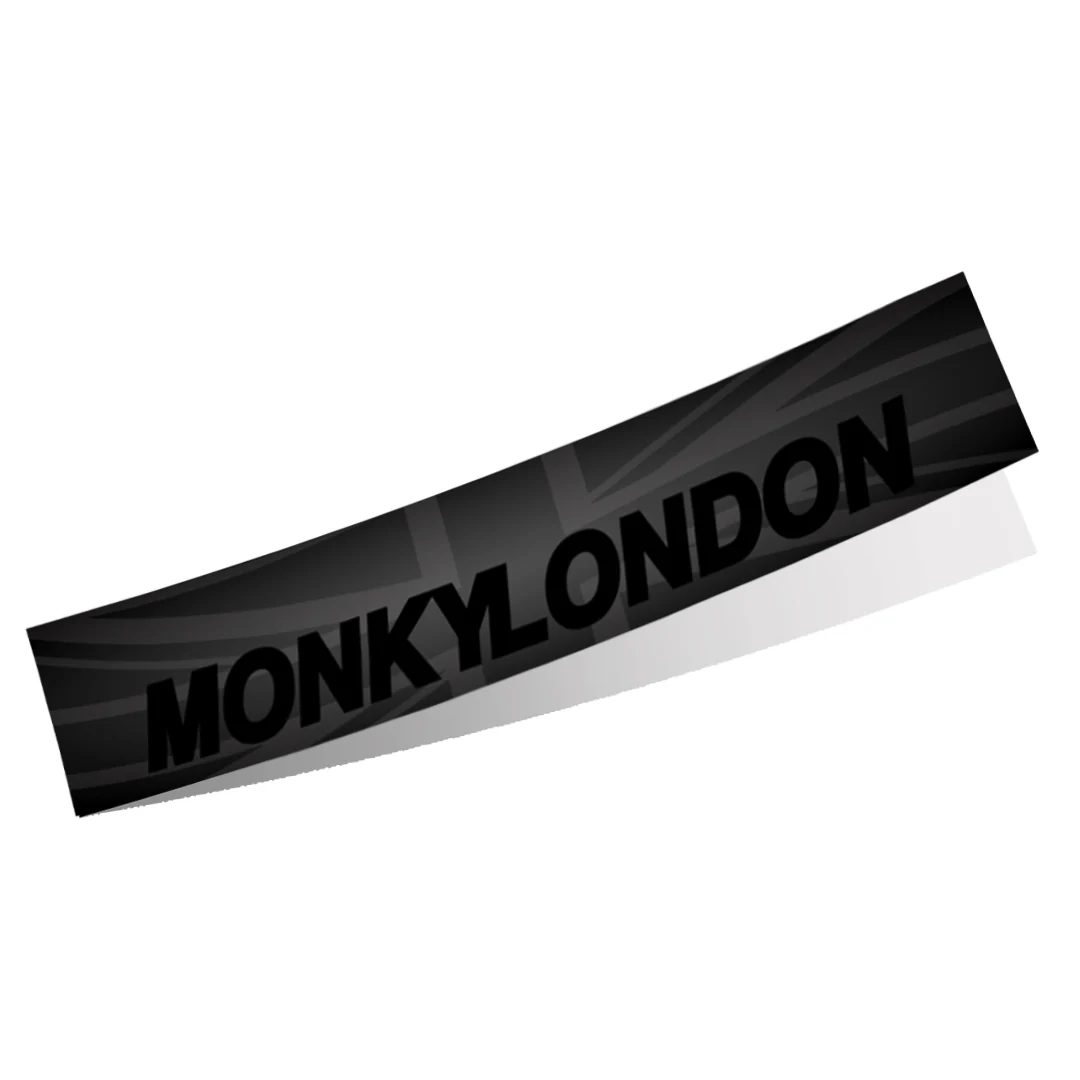
DETAILS – Monky Madness stealth black windscreen sunstrip!
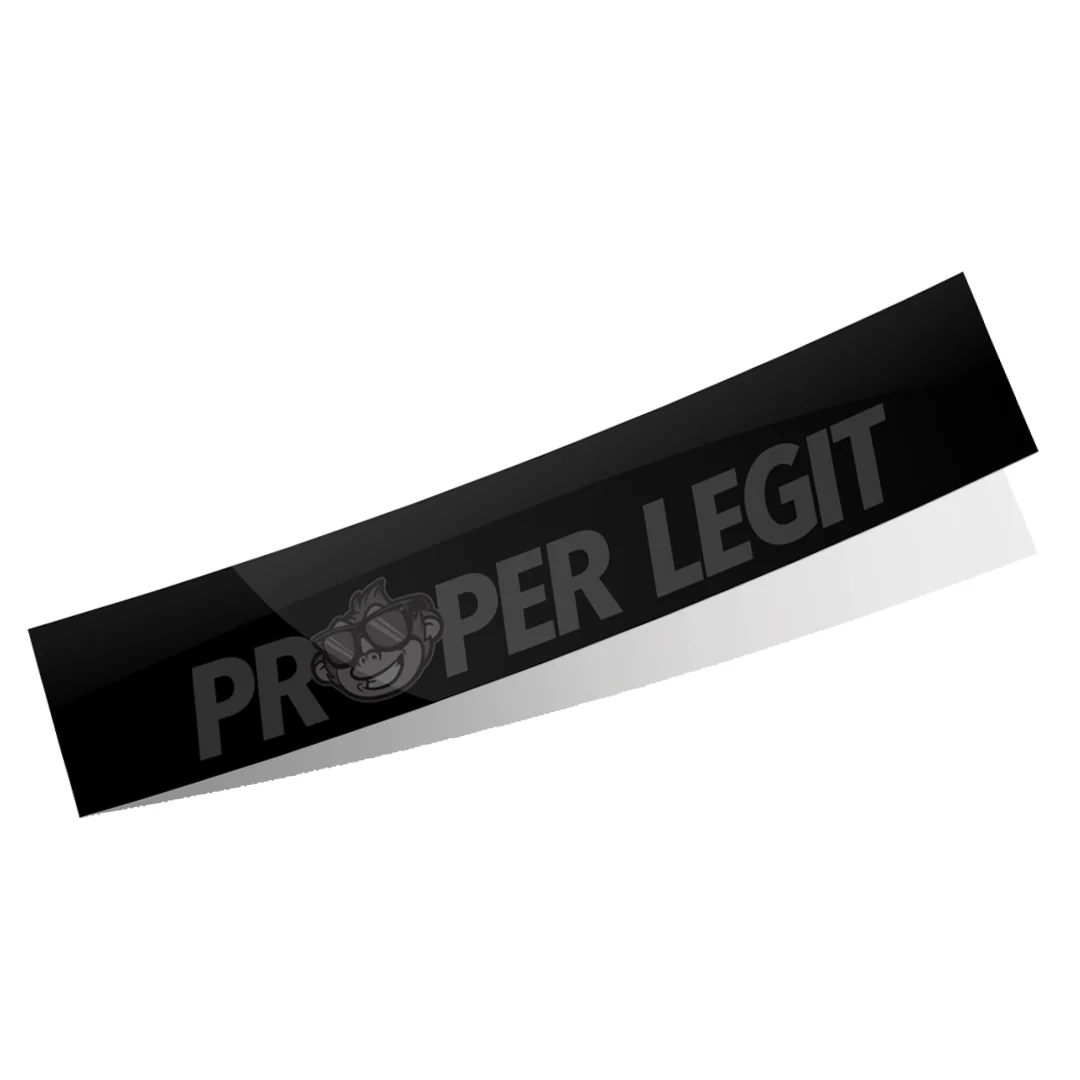
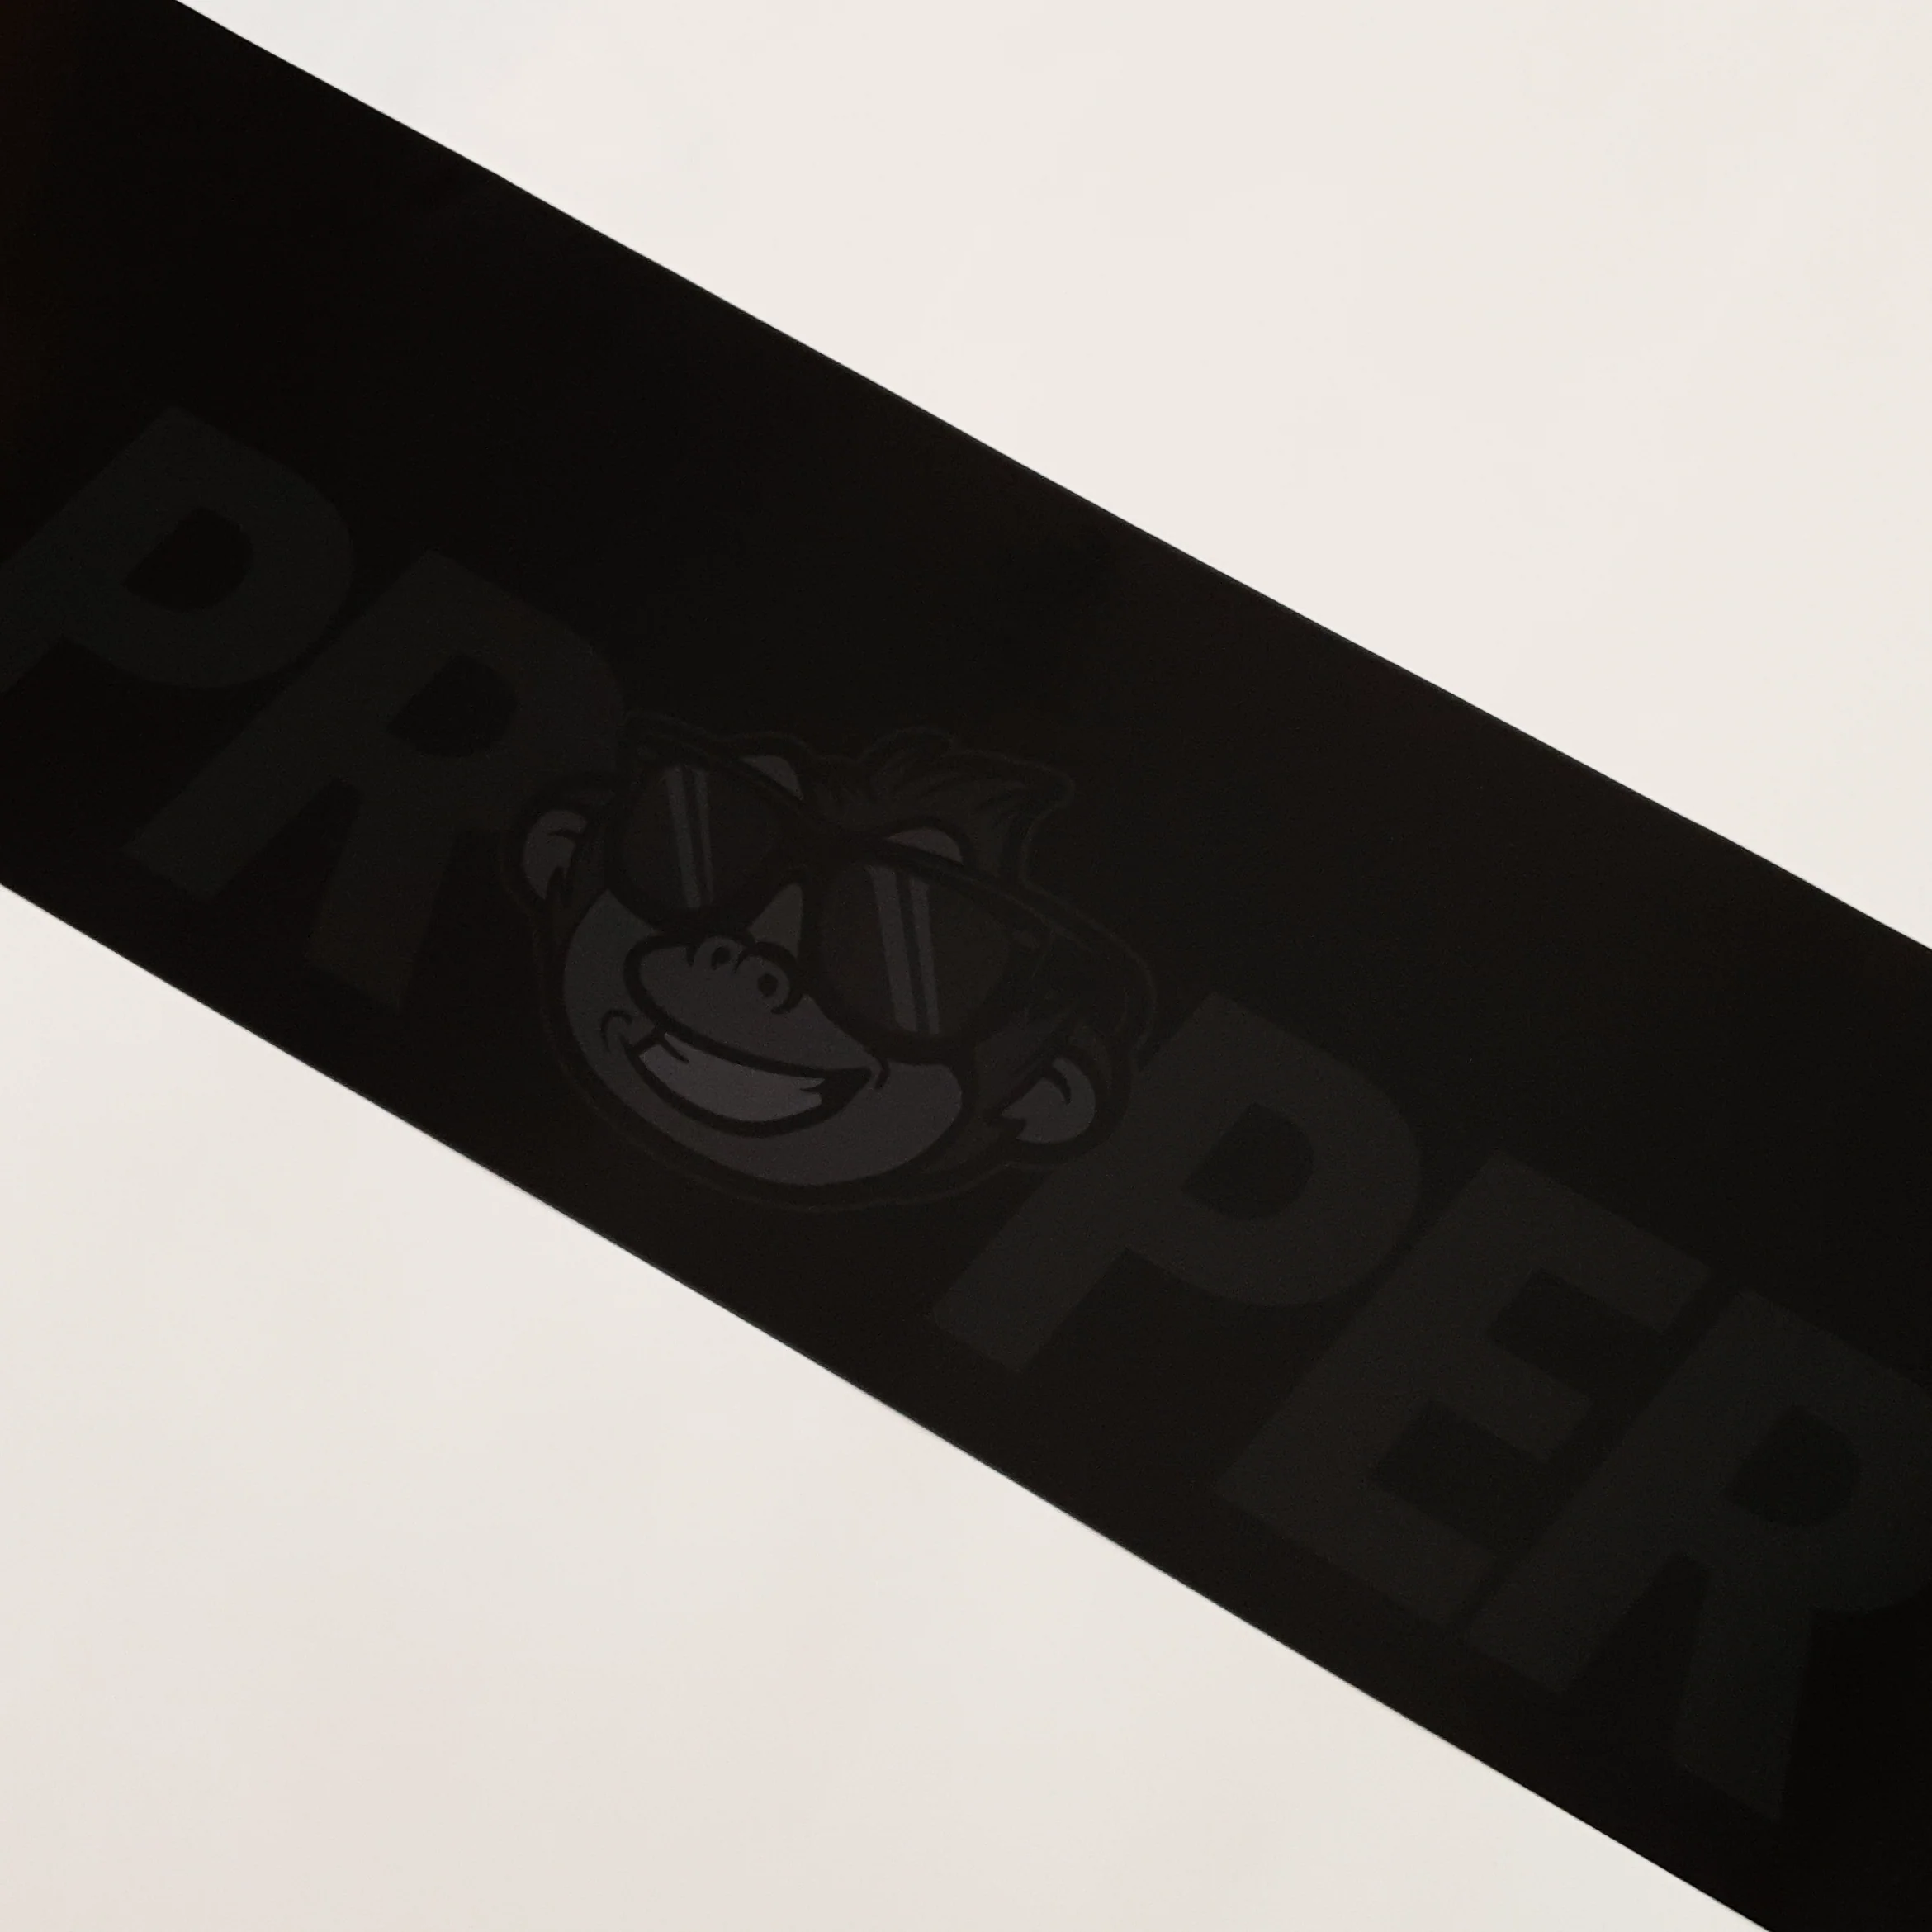
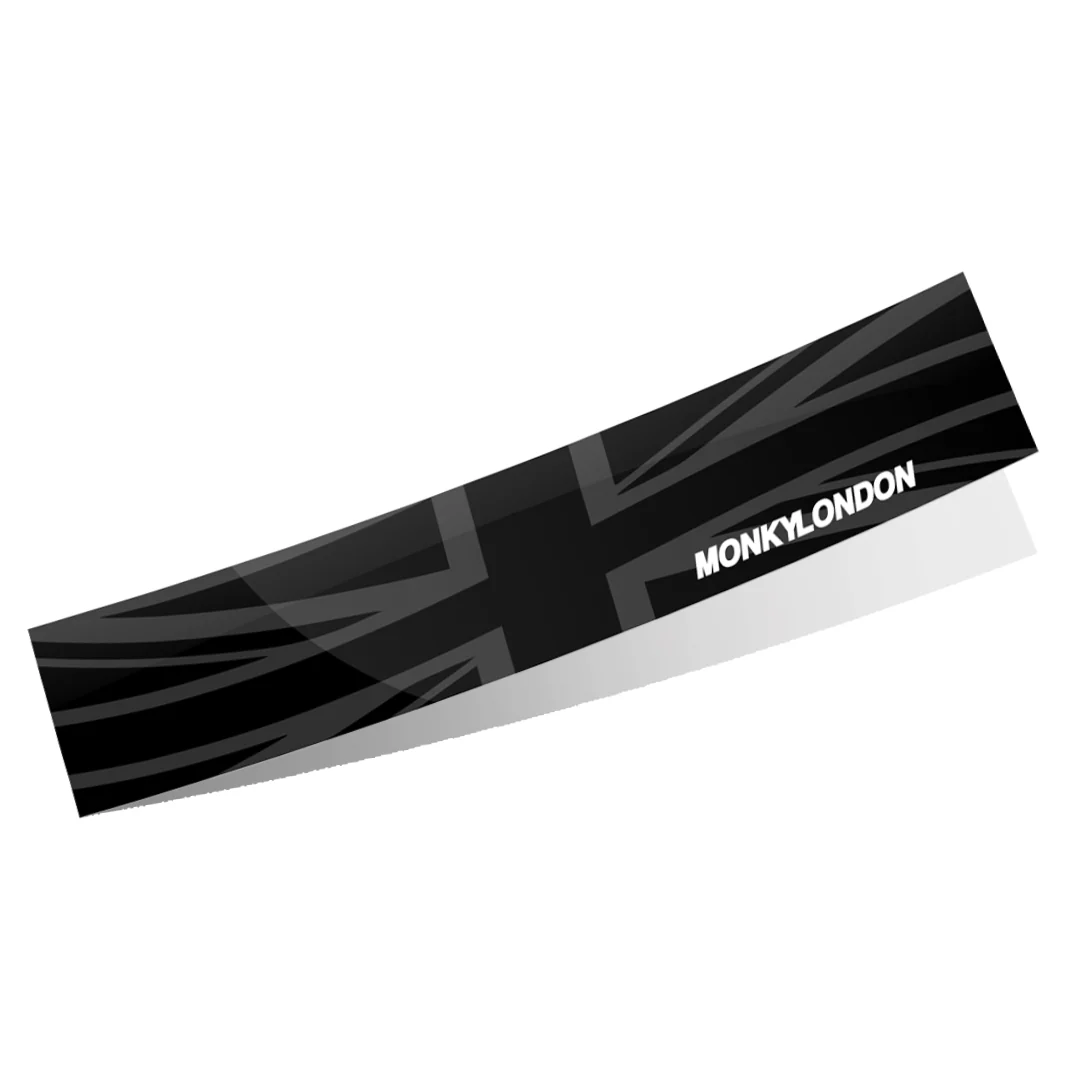
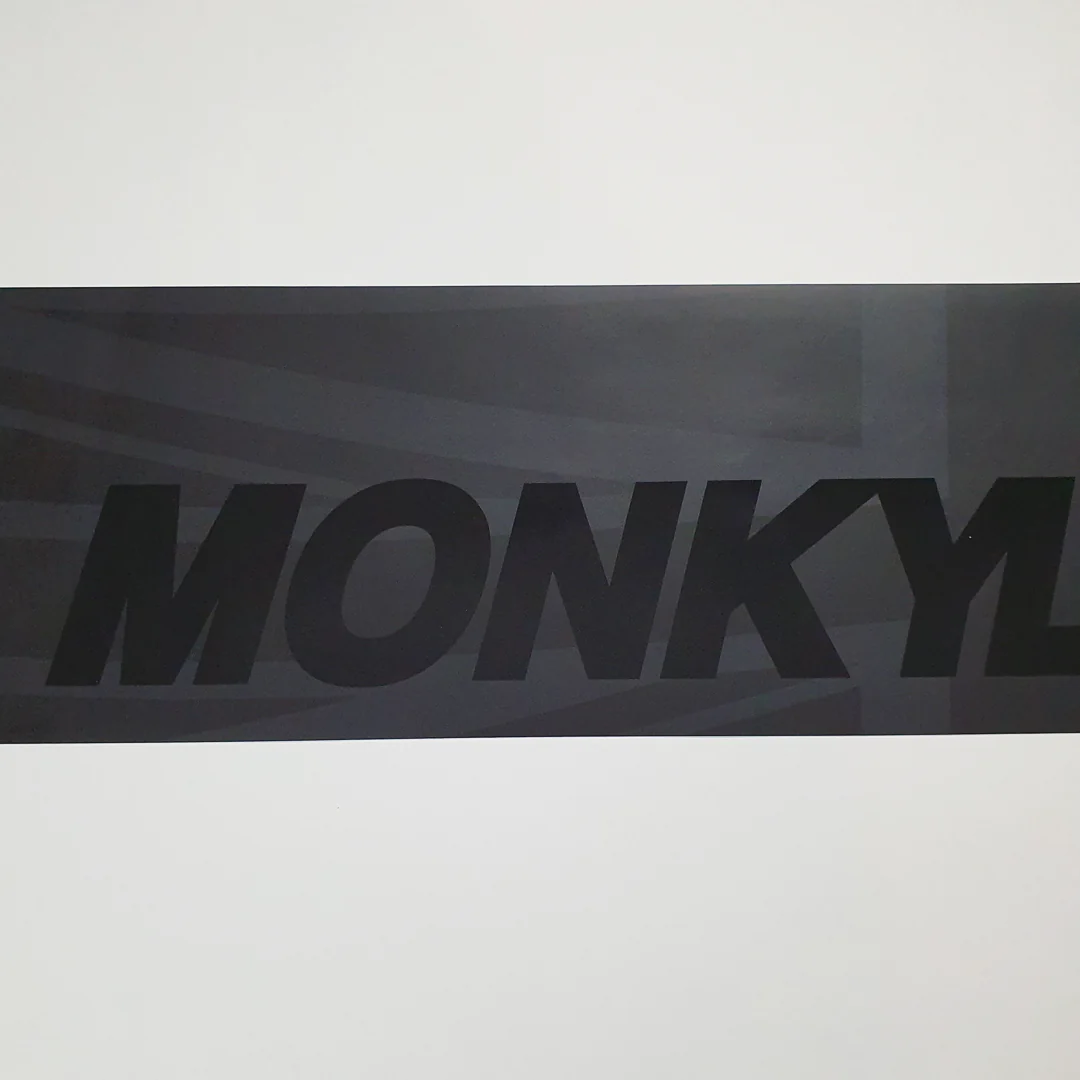
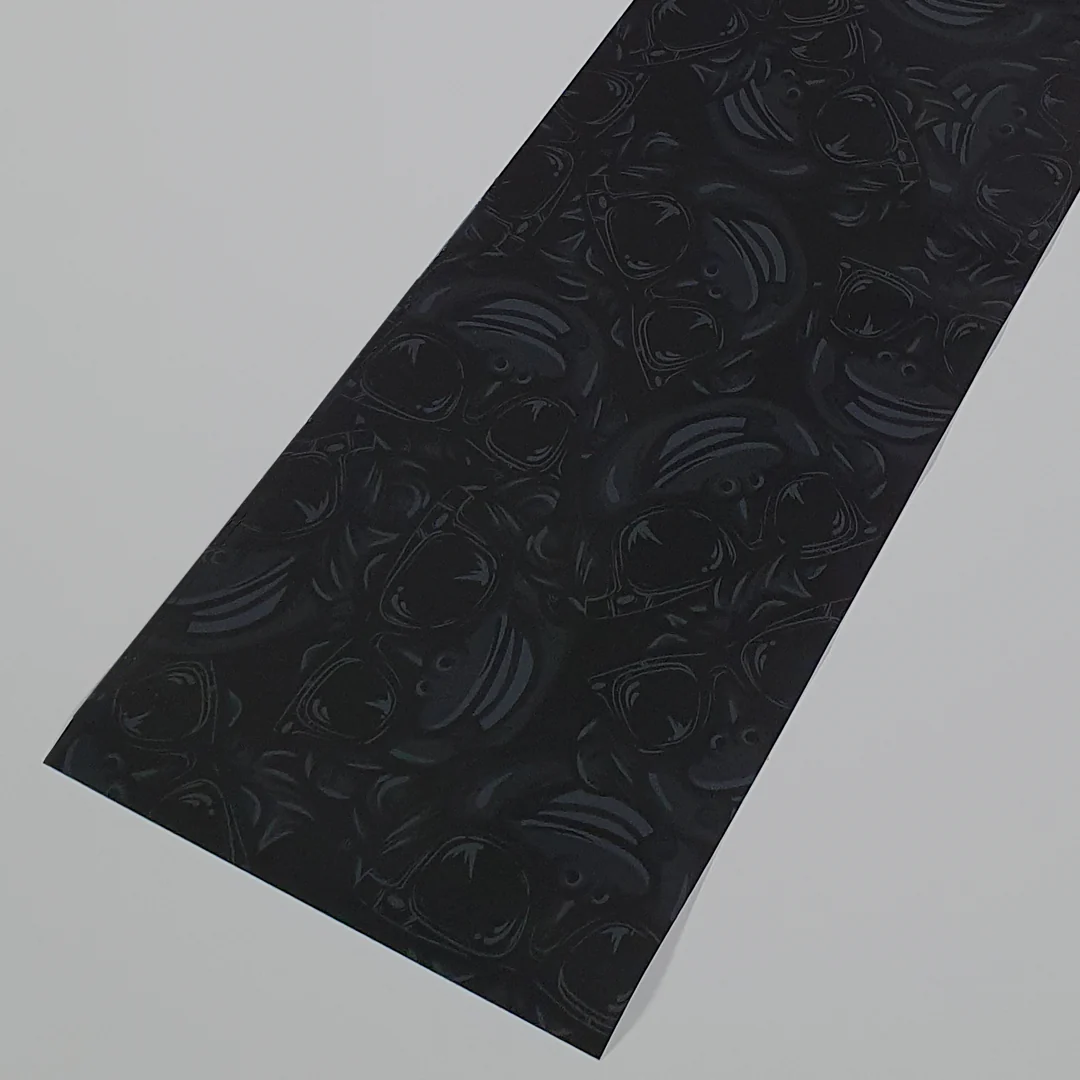
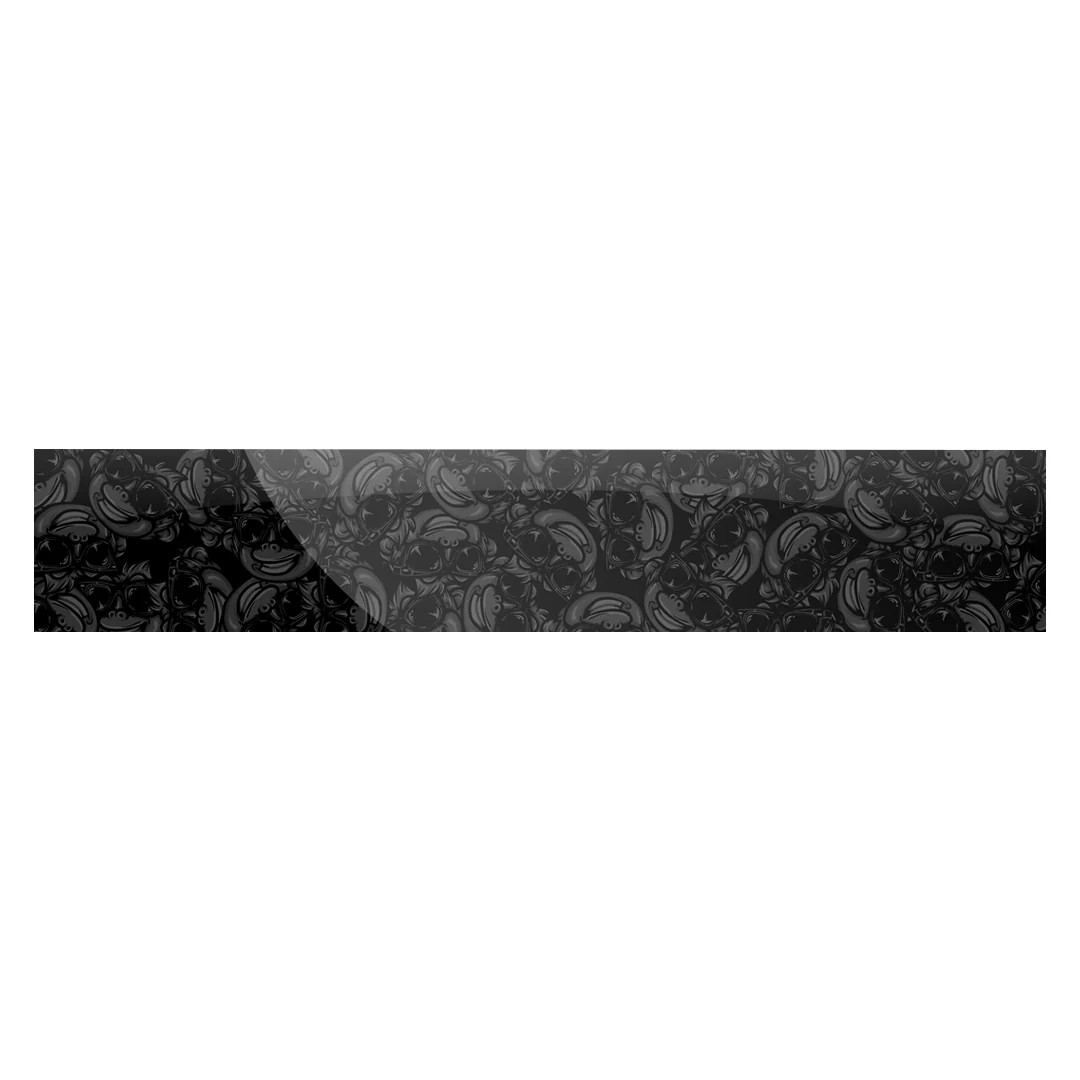
Features Monky madness design without a text logo, ideal for people with classic cars or abnormally small windscreens! Finished in super sick stealth gloss black / anthracite for ultimate pimpness!
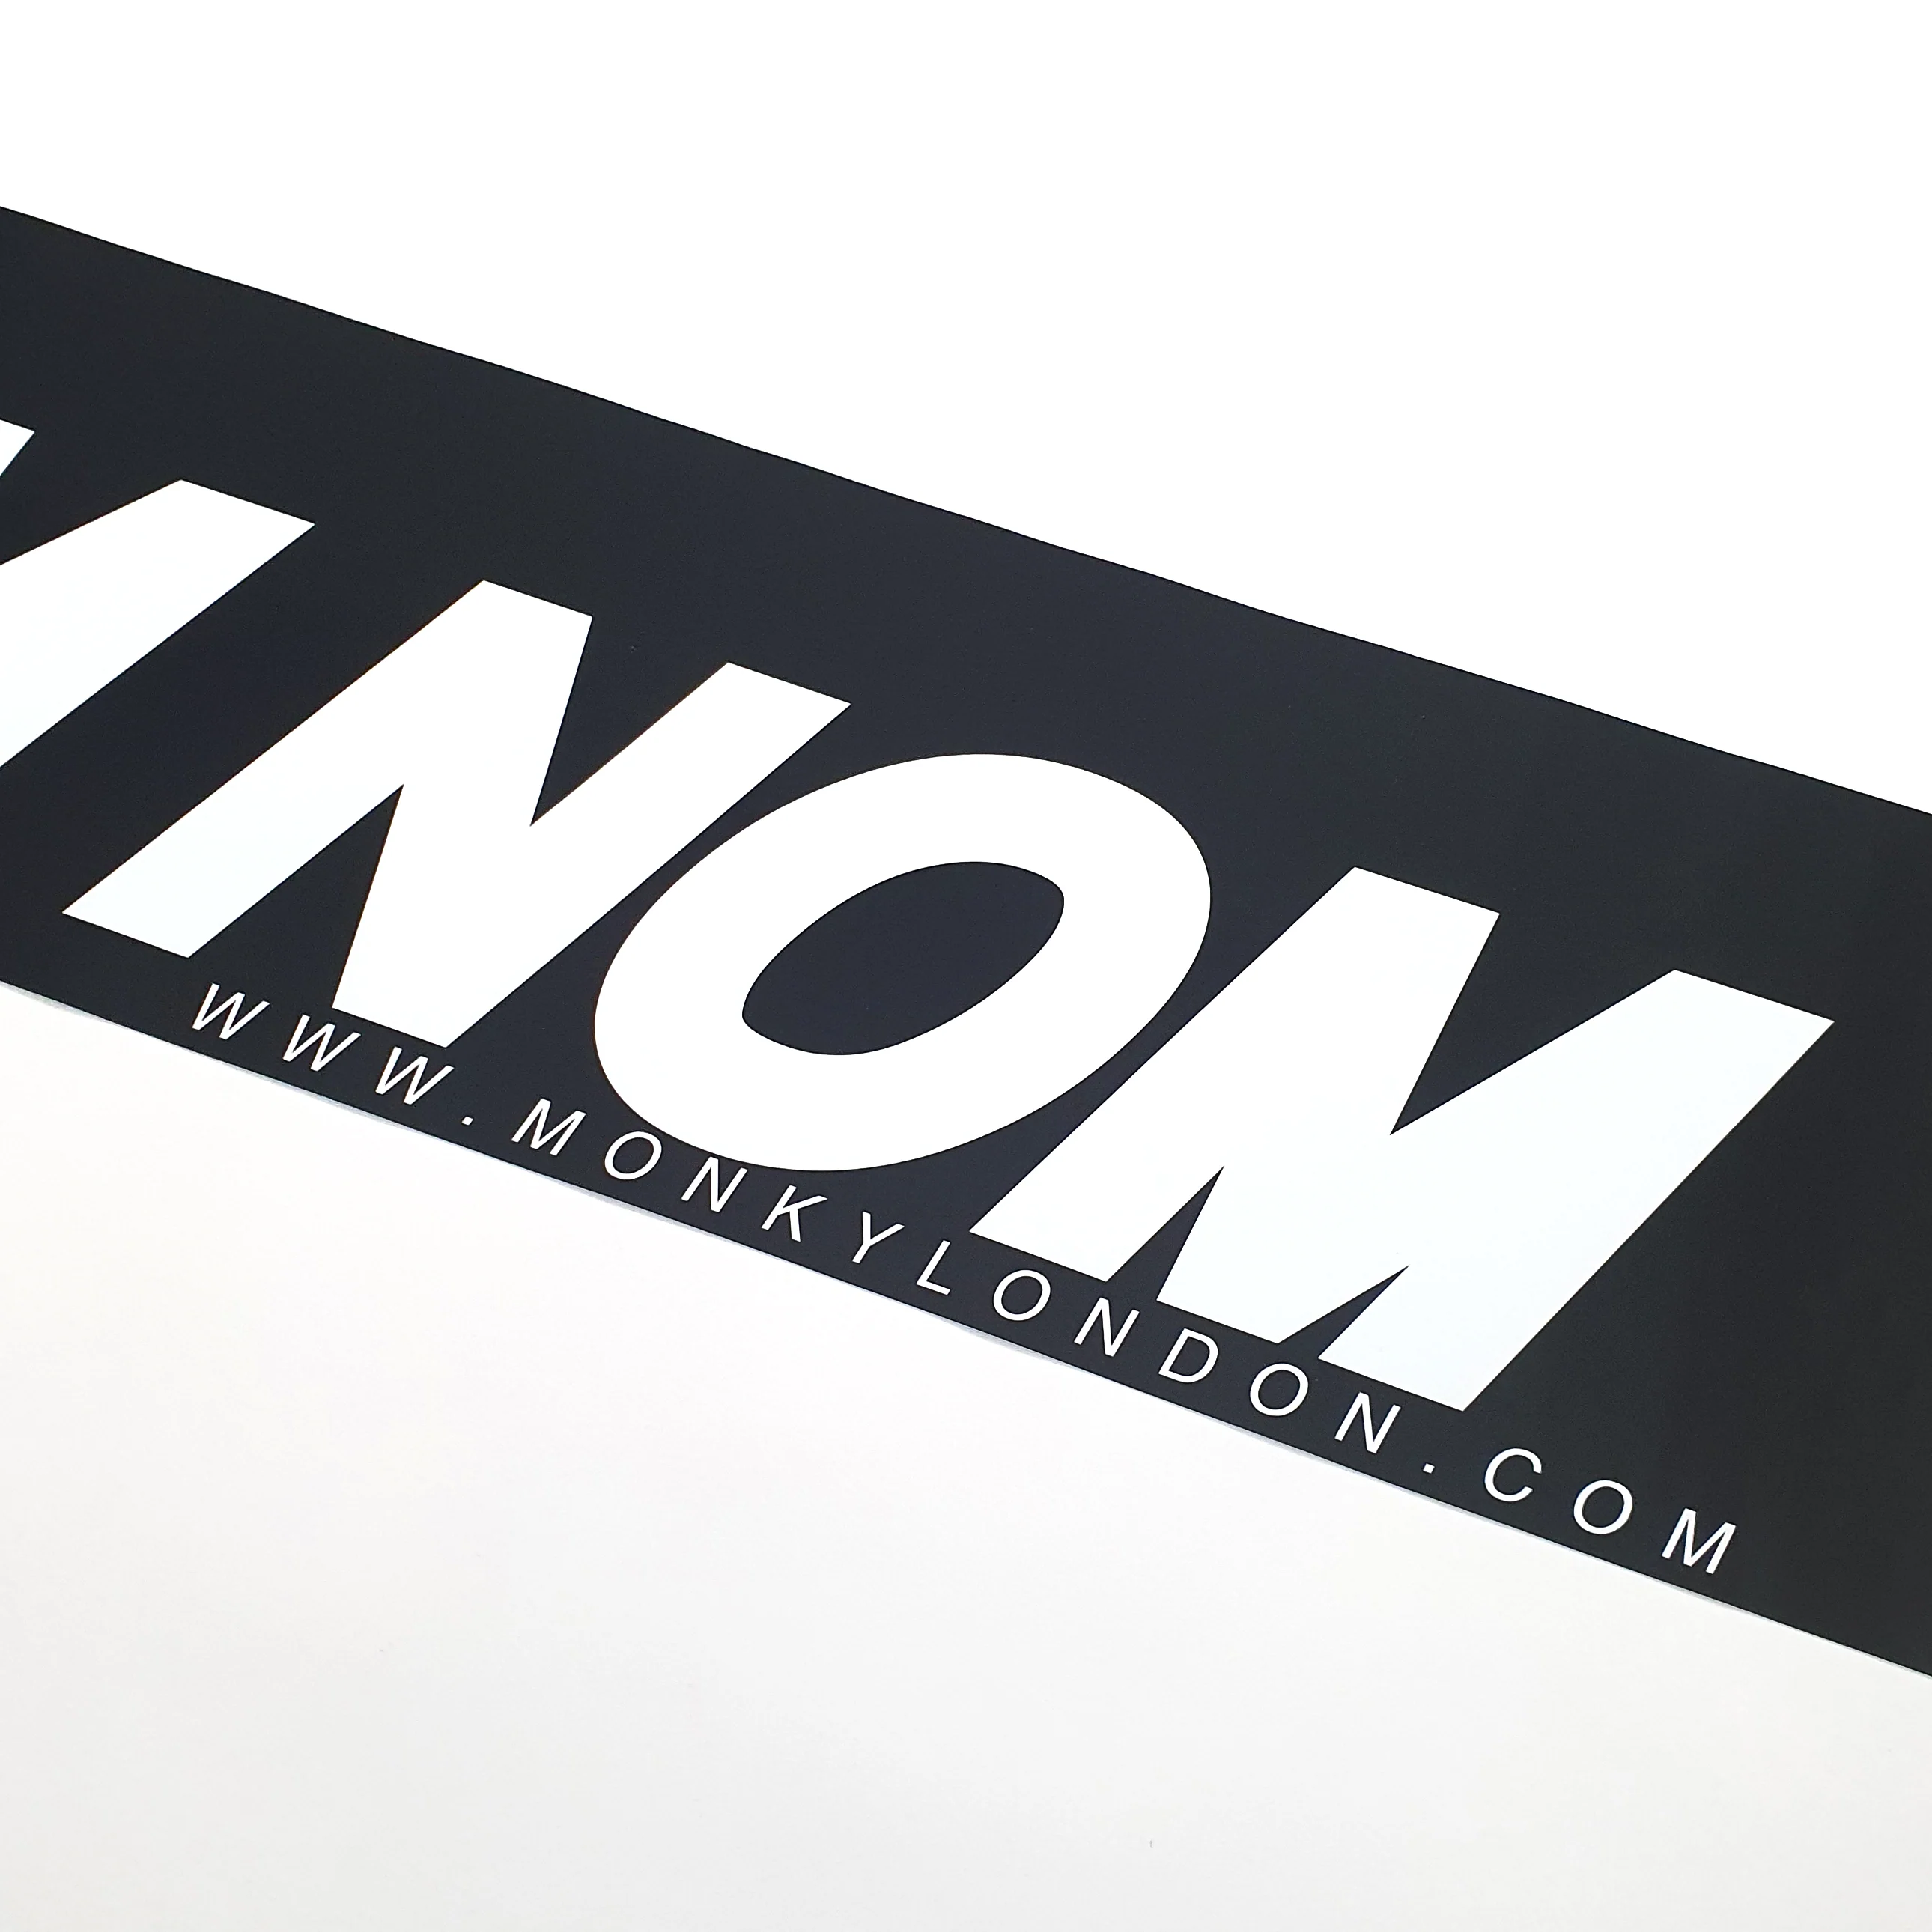
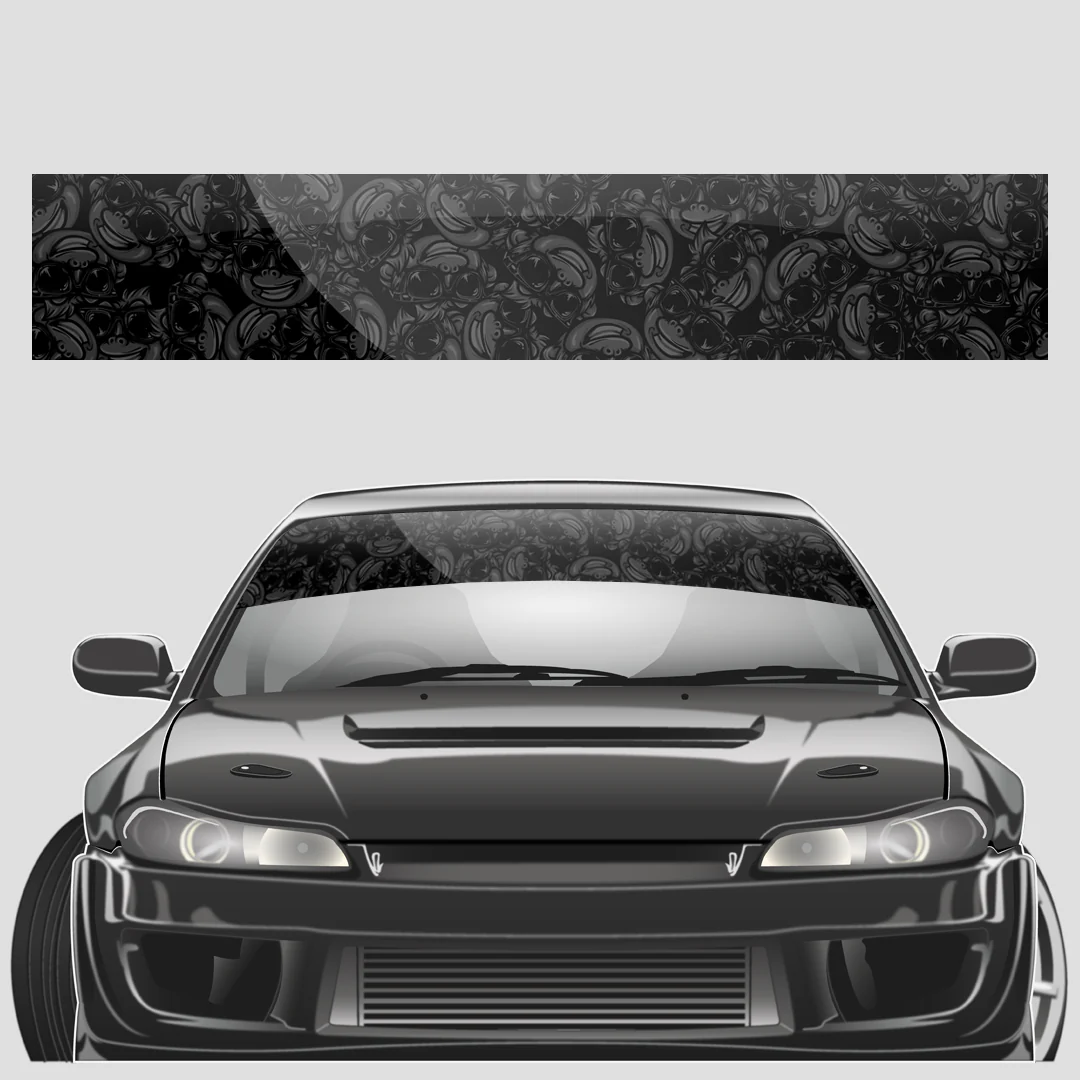
Classic racing look with discreet stealth details, perfect for any aspiring skid master! Keeps the sun out of your eyes, looks nom and adds 20hp, done deal!
Universal fit just cut to size for your windscreen, full fitting instructions supplied down below! Ultimate Monky goodness direct to your door!
Made in Great Britain and built to withstand many duggits, restecpa!
POWER GAINS – 20 BHP
SUNSTRIP SIZE – 135cm x 25cm
HIGH QUALITY – Premium Hexis / ImagePerfect polymeric automotive vinyl with 5-7 years weather proofing / fade resistance in mind! Everything from UV on sunny days, rain, storms & John! Super high quality and ultra-durable!
ATTENTION TO DETAIL – All our designs are professionally hand drawn by a small selection of awesome artists, this ain’t no MS paint shiz yo! When you buy ML merch, not only is it sick to look at, but you can rest assured that loads of hours / days / brain powerz have gone into making it next level for you!
MONKY LONDON THE WORLD – Make everyone envious by giving your car, van, truck the Monky London look! Stand out from the crowd and add 14hp while you’re at it, sick!
---
SUNSTRIP FITTING INSTRUCTIONS –
Once you’re happy with your placement, go ahead and create a ‘hinge’ point vertically down the centre of the sunstrip using masking tape.
Step 3: One side at a time!
Peel the backing paper off one side, up to the centre hinge point. Cut off the paper (DO NOT TEAR as this will leave paper particles that can get stuck or trapped under the vinyl and will create an irremovable airpocket, SCISSORS are advised) near the hinge point. You’re now ready to apply one side.
Step 4: Squeegee Time
Squeegee the banner to the glass working from the centre hinge point outwards, applying reasonable pressure. If you get any air bubbles or creases, lift the vinyl up slightly and try again. Squeegee to the top and edge of the screen but don’t trim any excess yet. The EZ apply vinyl can be very forgiving when removing any creases, air bubbles can be easily worked out of the vinyl.
Description
DETAILS – Monky Madness stealth black windscreen sunstrip!
Features Monky madness design without a text logo, ideal for people with classic cars or abnormally small windscreens! Finished in super sick stealth gloss black / anthracite for ultimate pimpness!
Classic racing look with discreet stealth details, perfect for any aspiring skid master! Keeps the sun out of your eyes, looks nom and adds 20hp, done deal!
Universal fit just cut to size for your windscreen, full fitting instructions supplied down below! Ultimate Monky goodness direct to your door!
Made in Great Britain and built to withstand many duggits, restecpa!
POWER GAINS – 20 BHP
SUNSTRIP SIZE – 135cm x 25cm
HIGH QUALITY – Premium Hexis / ImagePerfect polymeric automotive vinyl with 5-7 years weather proofing / fade resistance in mind! Everything from UV on sunny days, rain, storms & John! Super high quality and ultra-durable!
ATTENTION TO DETAIL – All our designs are professionally hand drawn by a small selection of awesome artists, this ain’t no MS paint shiz yo! When you buy ML merch, not only is it sick to look at, but you can rest assured that loads of hours / days / brain powerz have gone into making it next level for you!
MONKY LONDON THE WORLD – Make everyone envious by giving your car, van, truck the Monky London look! Stand out from the crowd and add 14hp while you’re at it, sick!
---
SUNSTRIP FITTING INSTRUCTIONS –
Once you’re happy with your placement, go ahead and create a ‘hinge’ point vertically down the centre of the sunstrip using masking tape.
Step 3: One side at a time!
Peel the backing paper off one side, up to the centre hinge point. Cut off the paper (DO NOT TEAR as this will leave paper particles that can get stuck or trapped under the vinyl and will create an irremovable airpocket, SCISSORS are advised) near the hinge point. You’re now ready to apply one side.
Step 4: Squeegee Time
Squeegee the banner to the glass working from the centre hinge point outwards, applying reasonable pressure. If you get any air bubbles or creases, lift the vinyl up slightly and try again. Squeegee to the top and edge of the screen but don’t trim any excess yet. The EZ apply vinyl can be very forgiving when removing any creases, air bubbles can be easily worked out of the vinyl.
This process is possible to achieve by yourself, just take your time. Otherwise we do recommend getting a friend to help you. In this instance, one holding the vinyl taught with both hands, the other using the squeegee to apply to the windscreen. Patience is key for best results.
Step 5: Repeat the other side
Now repeat the previous step for the other side. You’ll need to move the taped hinge point, remove the final half of backing paper and apply working centre outwards.
Step 6: Trim, safety first
Before proceeding with this step, ensure you’ve squeegee’d the vinyl as much as possible up to the edge of the glass. Use a sharp craft knife to trim the excess vinyl at the edge, being careful not to cut yourself, or any rubber seals on the edge of your windscreen.
Additional Info:
Once you’ve installed your sunstrip, we advise against washing the car/exposure to moisture for 48 hours (longer times may be required in lower temperature seasons/countries), it’s best to allow maximum time for the material to adhere to the surface properly to ensure the longevity of the sunstrip.
We also advise against using your wiper blades until the sunstrip has had time to fully adhere to the surface (unless you absolutely have to – safety first, of course). Once the sunstrip has fully cured to the surface, it’s very unlikely that your wiper blade will remove it, assuming it was properly installed following our steps above.